Billing
Configure
Add permissions to **<application\>** section too:

```xml
<meta-data android:name="com.platform101xp.sdk.billing.enabled"
    android:value="@bool/billing_enabled"/>
<meta-data android:name="com.platform101xp.sdk.billing.sku"
    android:value="@string/billing_sku"/>
@bool/billing_enabled - switching-on of the billing function
@string/billing_sku - list of ID's of products available in the game (from Amazon Developer Console) separation by ",". For example: "product1,product2,product3"
Usage
Initialization
Use a method onBillingInitializeResult() in your listener object:
// Java
@Override
public void onBillingInitializeResult(Platform101XPError error) {
    if (error == null) {
        // Success initialization!
    }
}
// Kotlin
override fun onBillingInitializeResult(error: Platform101XPError?) {
    if (error == null) {
        // Success initialization!
    }
}
Restoring purchases
To restore purchases, use the restoreProducts() method:
// Java
Platform101XP.Companion.restoreProducts();
// Kotlin
Platform101XP.restoreProducts()
The result will be returned to onPurchaseProductResult() method in listener, as with a regular purchase.
Getting product information
You can get product by id (from AndroidManifest in com.platform101xp.sdk.billing.sku) with method getProductById:
// Java
Platform101XPProduct product = Platform101XP.Companion.getProductById("com.101xp.product");
// Kotlin
val product = Platform101XP.getProductById("com.101xp.product")
Make payment
To make payments, use the Platform101XP.purchaseProduct() method.
Parameters serverId and properties are sent to 101XP Billing Server and to the game server.
// Java
Map<String, String> properties = new HashMap<String, String>();
properties.put("first_purchase_property", your_purchase_property);

String serverId = your_server_id;
Platform101XP.Companion.purchaseProduct(product, serverId, properties);
// Kotlin
val properties: MutableMap<String, String> = HashMap()
properties["first_purchase_property"] = "first_property"

val serverId: String = your_server_id;
Platform101XP.purchaseProduct(product, serverId, properties)
The result of purchaseProduct() is sent to the method of listener.
// Java
void onPurchaseProductResult(Platform101XPPurchase purchase, Platform101XPError error);
// Kotlin
override fun onPurchaseProductResult(purchase: Platform101XPPurchase?, error: Platform101XPError?)
Completion of payment
For consumable products, after successful purchase and processing, you need to call the finishPurchase() method.
// Java
Platform101XP.Companion.finishPurchase(Platform101XPPurchase purchase);
// Kotlin
Platform101XP.finishPurchase(Platform101XPPurchase purchase);
The result of finishPurchase() is sent to the method of listener.
// Java
void onFinishPurchaseResult(Platform101XPPurchase purchase, Platform101XPError error){
}
// Kotlin
override fun onFinishPurchaseResult(purchase: Platform101XPPurchase?, error: Platform101XPError?){
}
Consumable products
Without calling finishPurchase() you'll get the following error on the second purchase:
Item already owned
Test purchase
App Tester Prerequisites
Your development and testing environment must meet the following prerequisites to run test cases with App Tester:
- Your development environment allows logging via ADB and logcat
- An Android device that supports SDK version 10 or later
- Your app implements Appstore SDK API method calls
- No SDK Tester on the device. SDK Tester is not compatible with App Tester or with the Appstore SDK.
We recommend that you create one or more purchasable items for your app in the Amazon Appstore. This allows you to easily create the required JSON file.
Install App Tester
The App Tester is a free app that runs on Android mobile devices. Download App Tester from the Amazon Appstore:
- Uninstall any versions of the SDK Tester tool that you used to test IAP v1.0.
- Download the App Tester
You can also install the App Tester app directly from the Amazon Appstore to your Android mobile device:
- Uninstall any versions of the SDK Tester tool that you used to test IAP v1.0.
- On your Android mobile device, start the Amazon Appstore app. Search for "Amazon App Tester". Select the "Amazon App Tester" app. (Do not select the Web App Tester, which is a different app.) Tap through the prompts to download and install the app. Create a JSON Data File The App Tester responds to API calls using data stored in a JavaScript Object Notation (JSON) file. The file contains purchase data for the IAP items.
You can automatically create the JSON file through the Apps & Games Developer Portal.
In a web browser, go to the your app's page on the Apps & Games Developer Portal. Add your IAP purchasable items to your app, if you have not already done so. Click the link to download your JSON Data File. Name the downloaded file amazon.sdktester.json Copy the file to the /sdcard/ or /storage/emulated/0/ folder in your device file system.
$ adb push [_Your_JSON_File_Folder_]/amazon.sdktester.json /sdcard/amazon.sdktester.json
OR
$ adb push [_Your_JSON_File_Folder_]/amazon.sdktester.json /storage/emulated/0/amazon.sdktester.json
: If your device is running an Android version older than 4.0, copy the file to /mnt/sdcard/.
If you open the downloaded JSON file, note that the general file format is as follows:
 {
  Item_ID_1:{Item_1_Description},
  Item_ID_2:{Item_2_Description},
  .
  .
  .
  Item_ID_n:{Item_n_Description}
  }
The actual item description definition varies by item type. The order of the items in the JSON file is not significant. Note the comma "," between description definitions.
File Format and Example: IAP Consumable and Entitlement Items Consumable and Entitlement IAP Item Descriptions have the same format. The itemType property indicates whether the item is ENTITLED or CONSUMABLE. Every purchasable item is associated with a unique identifier called a SKU.
"your_item_SKU":{
  "itemType": "ENTITLED|CONSUMABLE",
  "price": price,
  "title": "item_title",
  "description": "item_description",
  "smallIconUrl": "full_url_for_small_icon"
  }
The following example shows a consumable and an entitlement item:
{
"com.amazon.sample.iap.consumables.orange":{
  "itemType": "CONSUMABLE",
  "price": 10.00,
  "title": "Orange",
  "description": "An orange",
  "smallIconUrl": "http://www.amazon.com/orange.jpg"
  },

"com.amazon.sample.iap.entitlements.level2":{
  "itemType": "ENTITLED",
  "price": 10.00,
  "title": "Level 2",
  "description": "An entitlement to play level 2"
  }
}
If your complete all right.
In Amazon App Tester
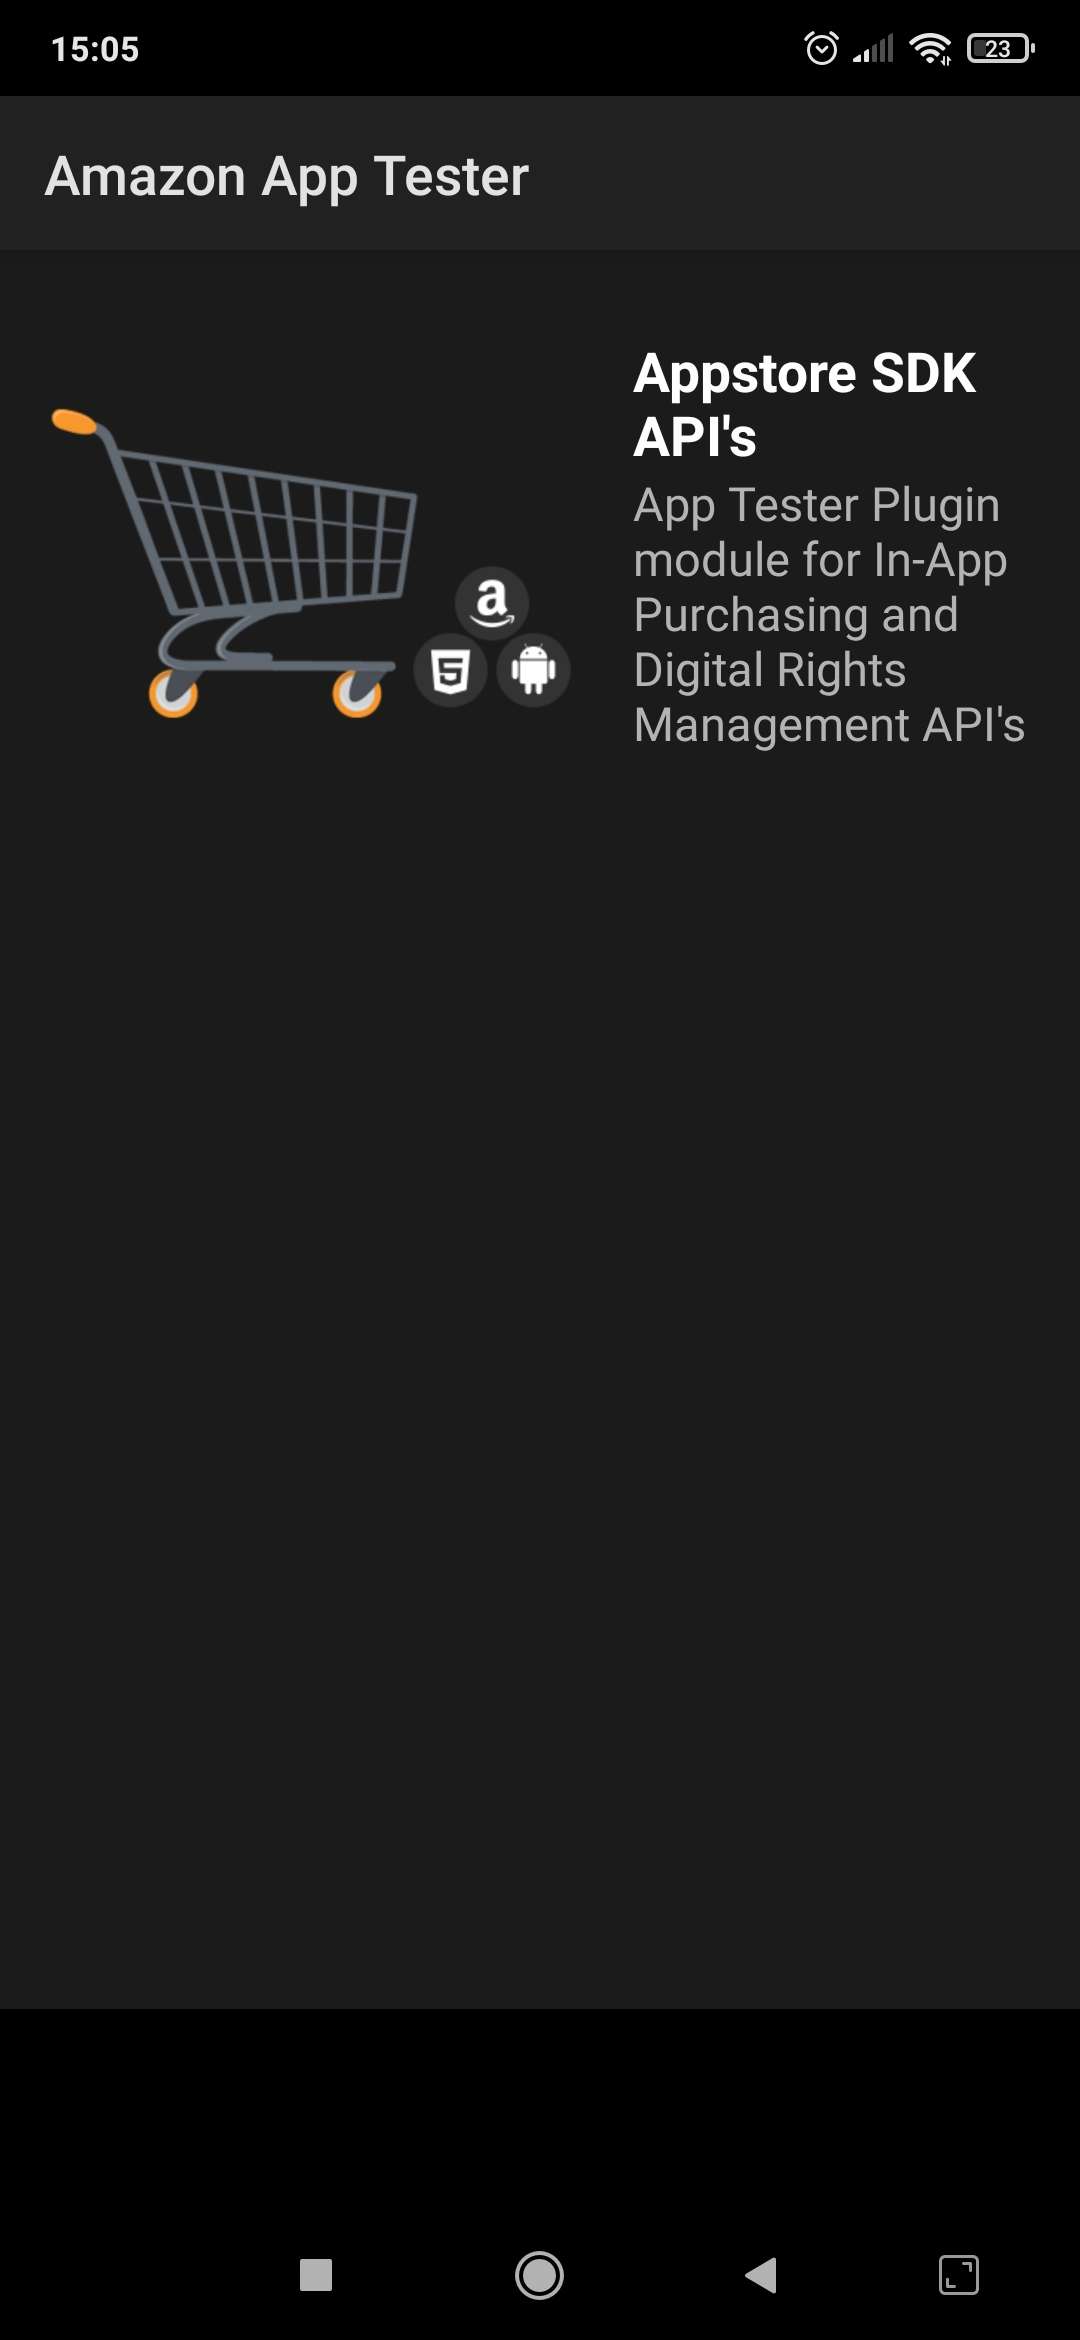
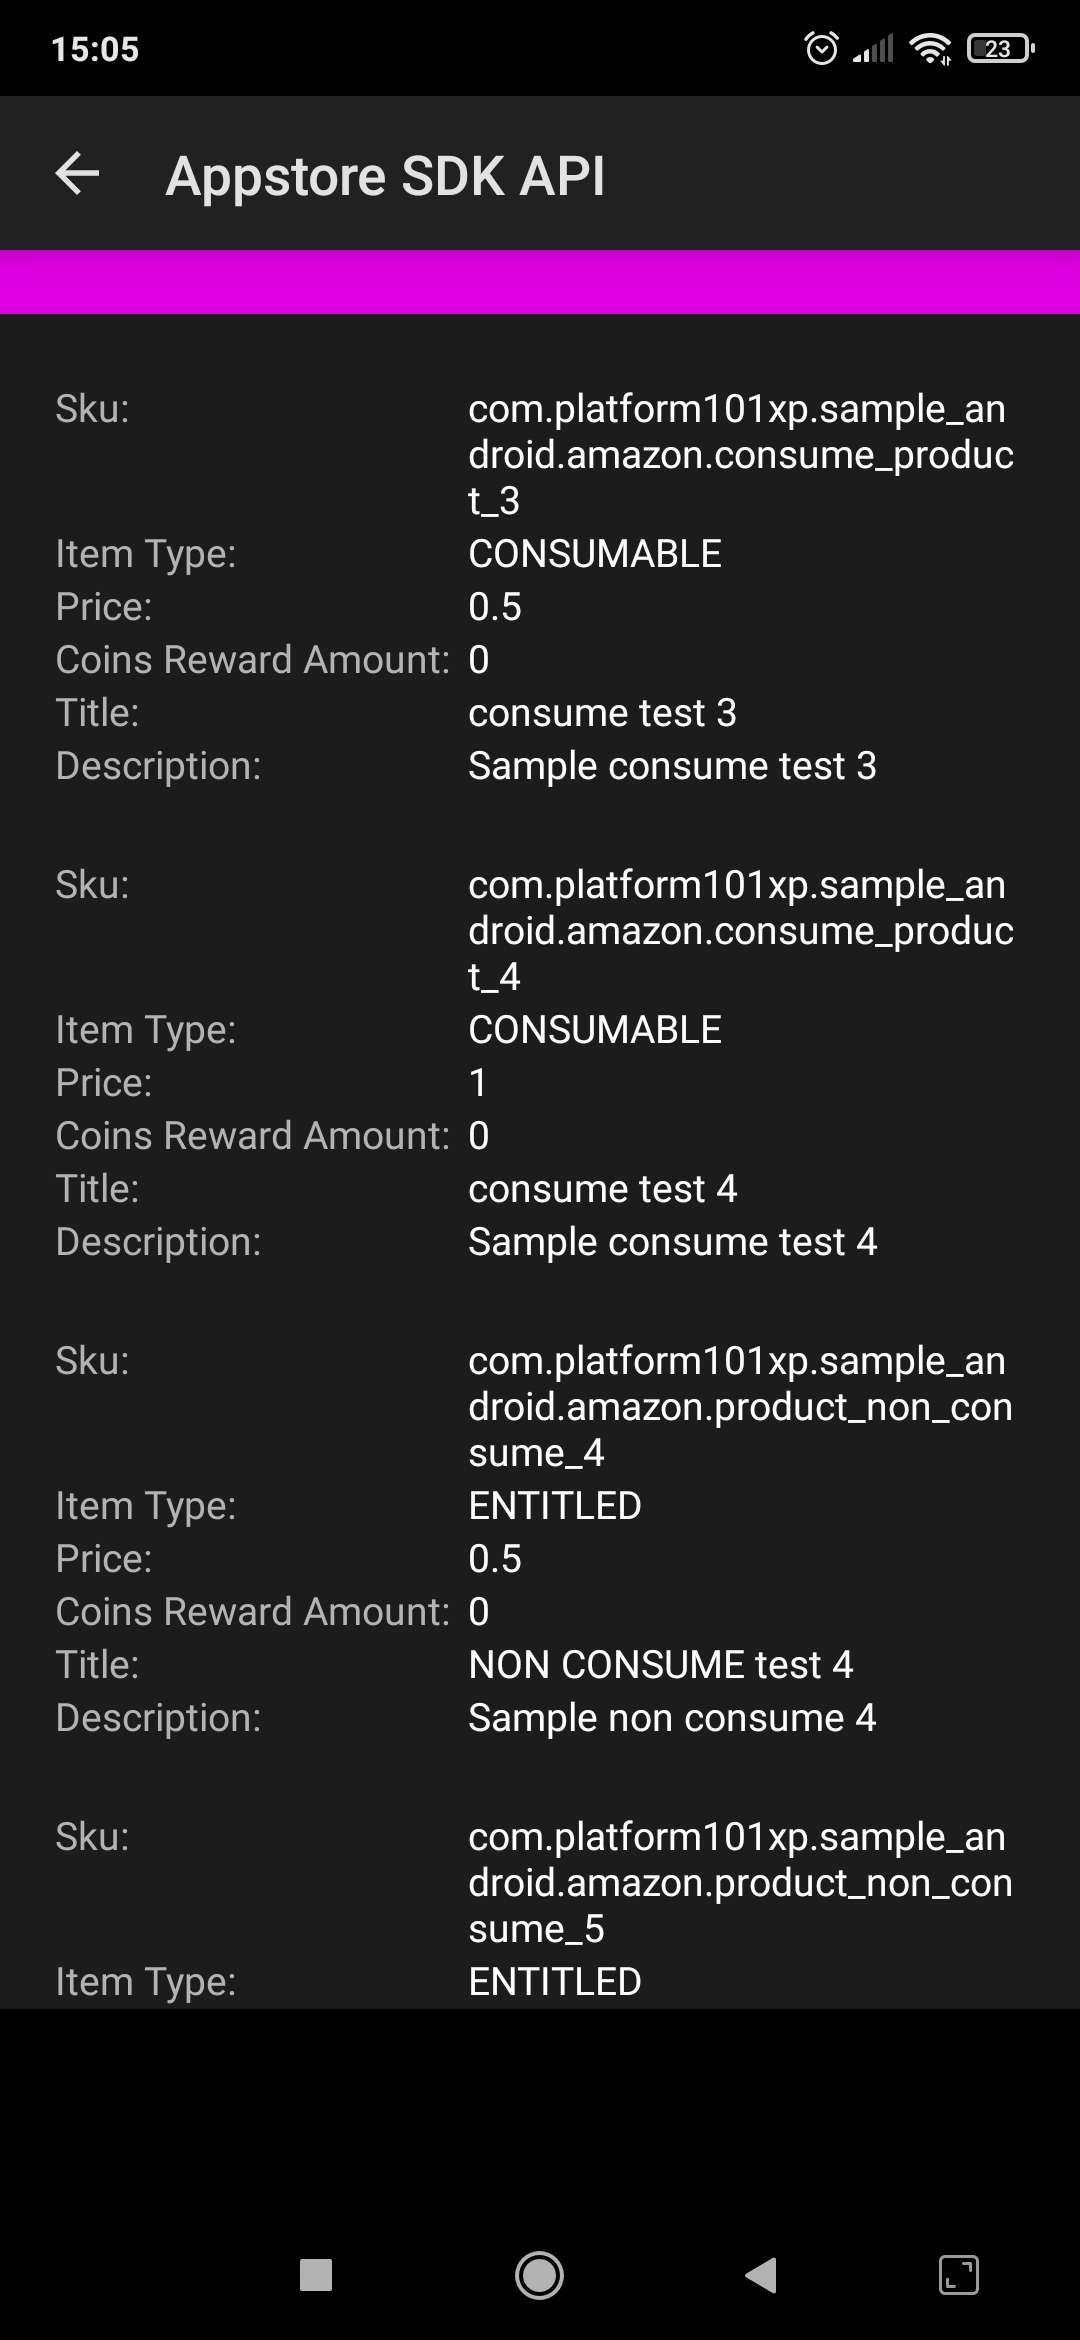
your see your's Items
Using App Tester
The App Tester works with the debug version of your app. You cannot use the App Tester with release versions.
To use Amazon App Tester to test the license verification for your app:
- Connect your computer to either a Fire TV or Fire tablet through ADB.
- Set your app in sandbox mode using the following command:
adb shell setprop debug.amazon.sandboxmode debug
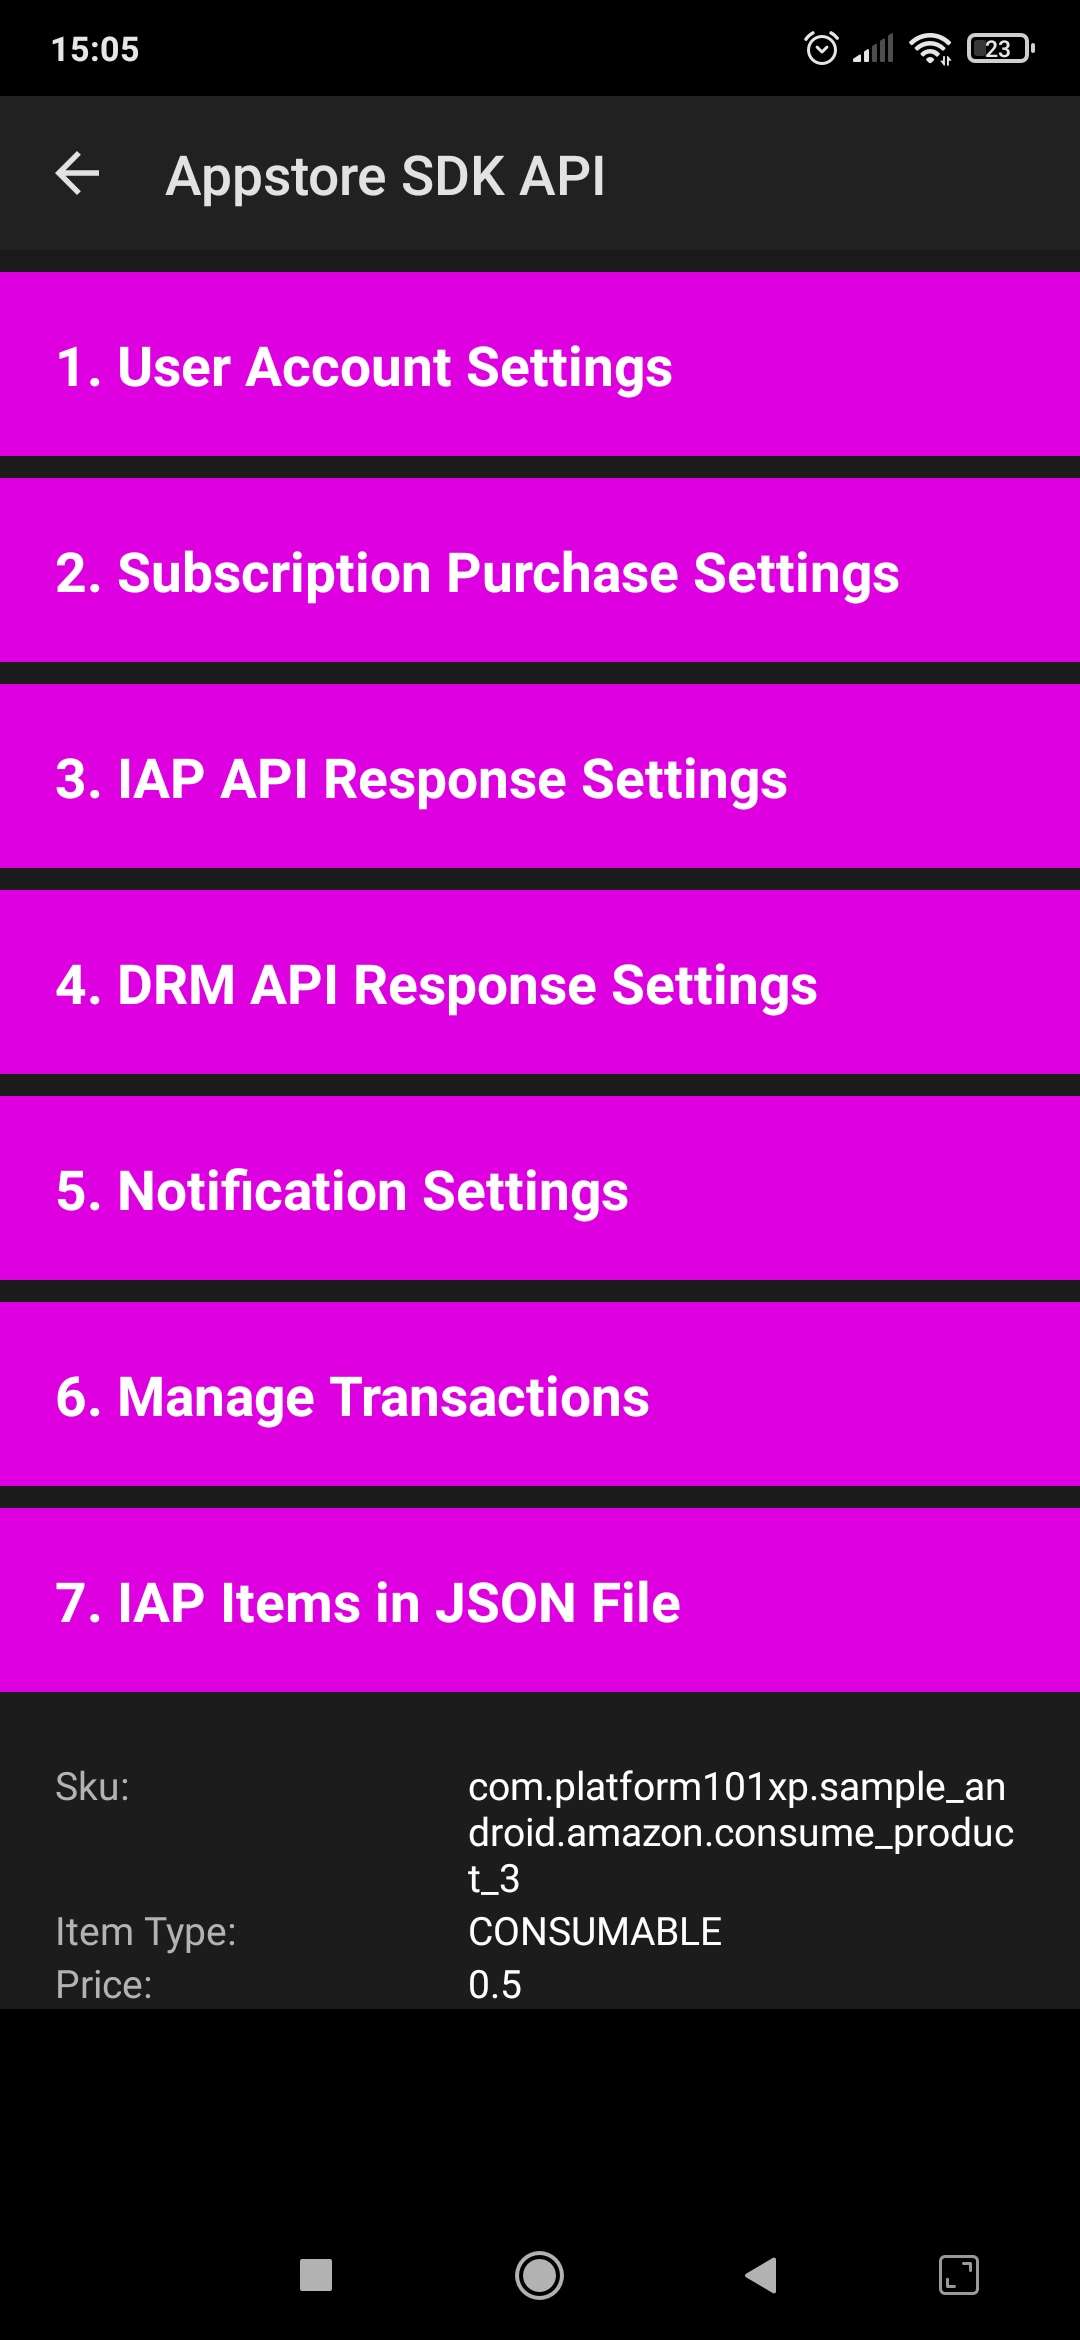
Sandbox mode constrains calls that would normally go to the Appstore client to route to the Amazon App Tester app instead. Use this mode only for testing locally. 3. Uninstall any existing version of the Amazon App Tester, and then download it and open it on your Fire device. 4. Open Amazon App Tester and go to Appstore SDK APIs > DRM API Response Settings > GetLicense API. You will see the several license options that you can set:
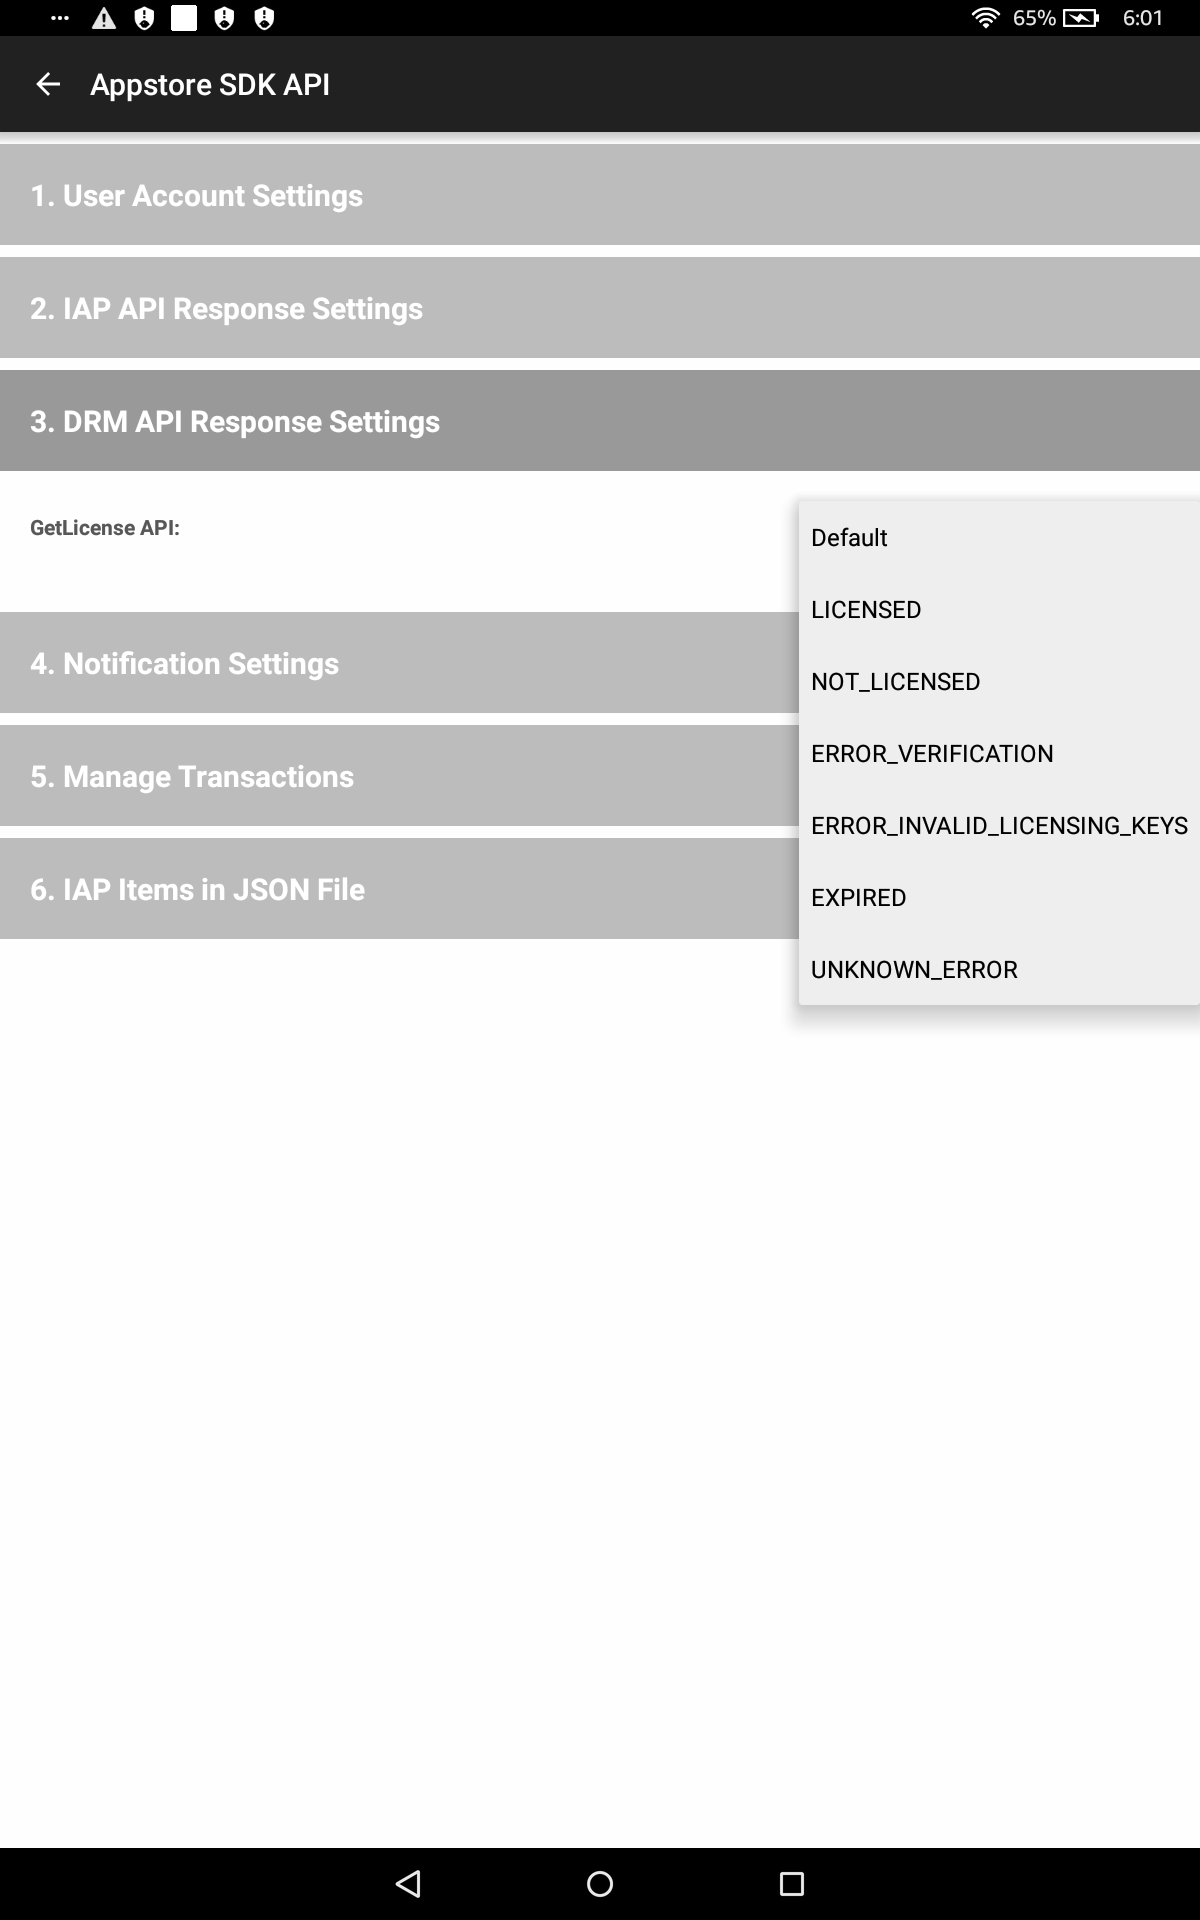
DRM API Response Settings in App Tester 5. Run your Fire TV or tablet app that contains DRM. Amazon App Tester will simulate responses about user's license status based on what you have selected in Amazon App Tester.
To exit sandbox mode, run the following:
adb shell setprop debug.amazon.sandboxmode none